

Places, pets and objects
Cinematic zoom Cinematic move in with AI from a photo
A slow, cinematic push in towards the centre of your photo.
£2.99 Tax included
- 4 or 8 seconds
- Vertical or horizontal
- 720p
- With sound
- Free redo if you are not happy with it, before you download
- If it fails, we refund you without you asking
- Email as soon as it is ready and 48 hours to download it
A slow, steady move towards the centre of the image, like the shot that opens a film. The background gains depth, the subject grows in the frame and the photo stops being flat. It is the most versatile effect in the shop, because almost any image with a clear main subject works.
How to make a cinematic zoom from a photo
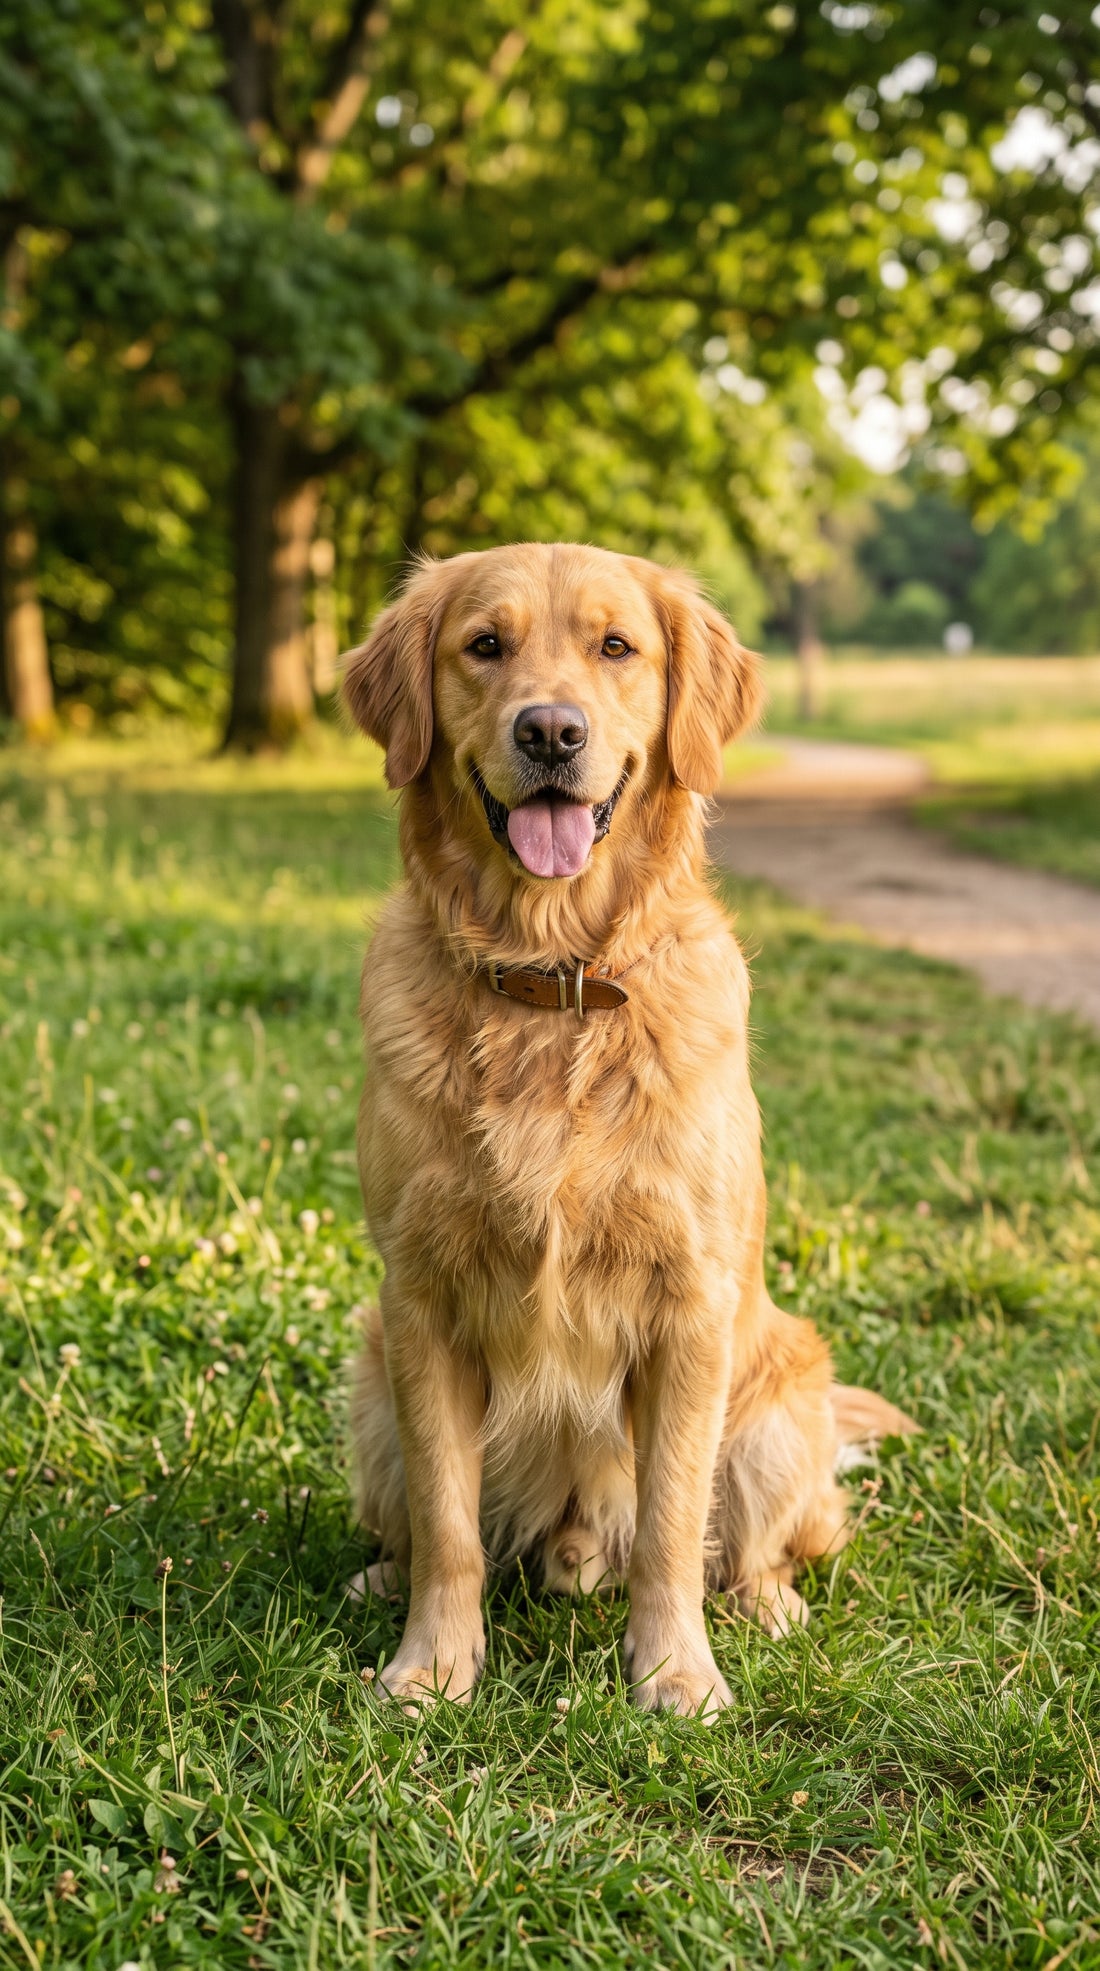
Pick a photo where the important part is more or less in the centre. A portrait, your dog looking at the camera, a freshly served dish or your shop window. The sharper that centre is, the better, because it is what the camera will look at closely at the end of the video.
- Use the photo at its original resolution, not a screenshot.
- Make sure the subject is not cut off by an edge.
- If there is a lot of blurred background, the depth effect is even more noticeable.
Ideas for using it
On social media, it adds rhythm to a gallery of photos without it looking like a slideshow. In a restaurant, it turns the photo of the dish of the day into a clip for stories. In a greeting, it starts far away and ends on the person's face.
At 4 seconds the move in is quick and works well as a transition. At 8 it has time to breathe and feels calmer. Gentle motion barely moves forward, while Intense gets quite a bit closer to the centre.
Zoom, drone or fly through
The zoom goes inwards and stays on the subject. The drone view does the opposite and pulls away upwards, and fly through the scene passes through an opening and keeps going. If your photo shows a product and you want to see it spin, the right effect is Product 360.
The AI does not invent details the photo does not have or change the framing from the side. If the centre is blurry, the end of the video will be too.
Examples
From photo to video.
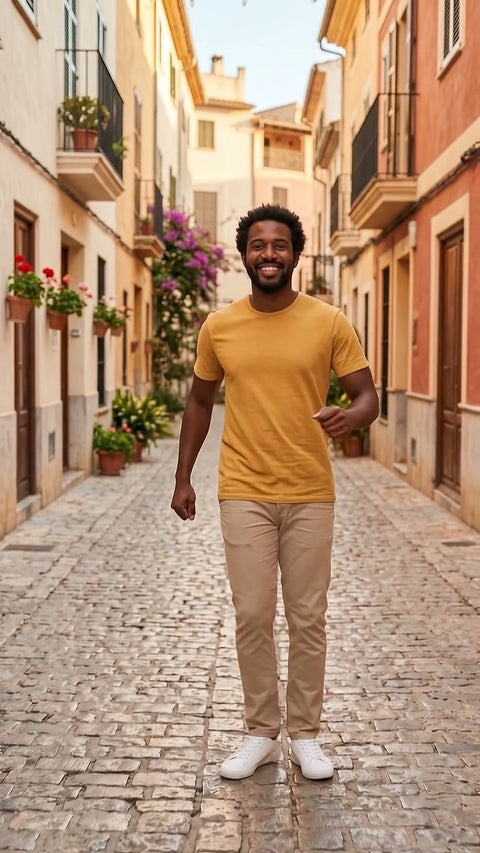
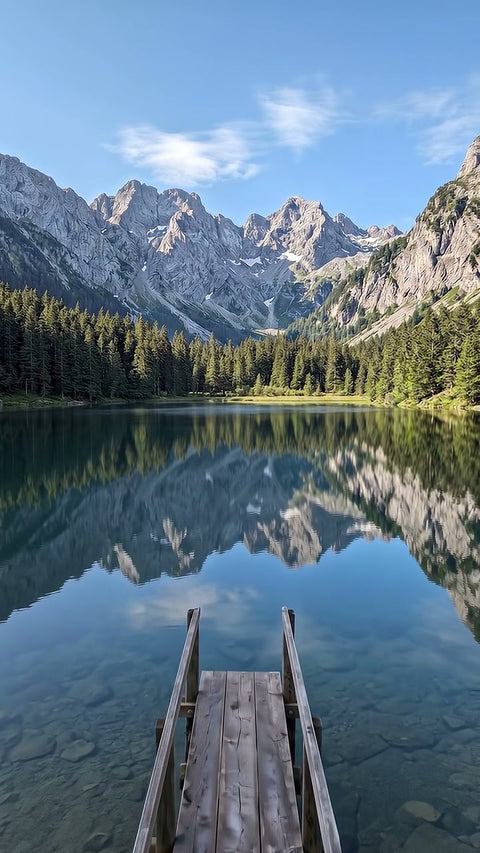
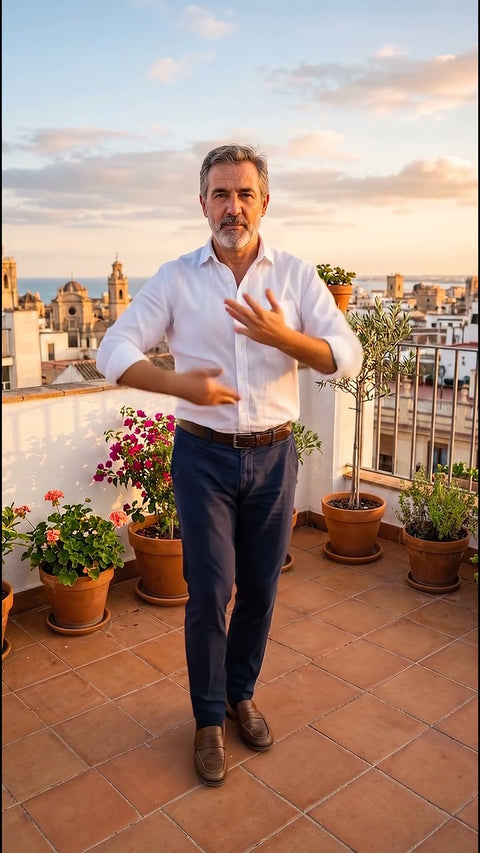
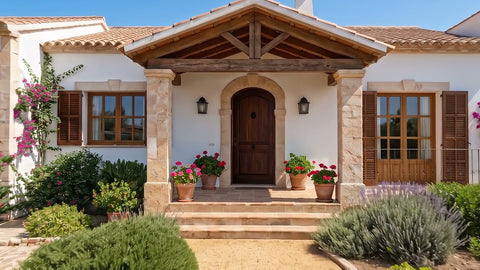
Each video comes from the photo shown next to it, with this same effect. The people, places and products in the examples were created with AI.
Before you upload your photo
What you need to know.
Works best with
- Photos with a clear subject in the centre
- Portraits, pets, dishes or products
- Sharp images
What you get
- One 4 or 8 second video, your choice
- Vertical or horizontal format
- 720p, standard quality, with sound
- In MP4, ready to upload to social media
- Email as soon as it is ready and 48 hours to download it
What it does not do
- It does not invent details the photo does not have
- It does not shift the framing sideways
- It does not animate photos showing children
- It does not guarantee an exact likeness, it is a recreation made with AI
How it works
This is how it works.
-
1
Choose an effect
Look at the example and choose the result you want, just as you would buy any product.
-
2
Upload your photo
Drag in a photo. We check it straight away and, if it is not suitable, we tell you why before you pay.
-
3
Adjust and pay
Length, vertical or horizontal format and how much movement. You pay by card.
-
4
Get your video
In a few minutes you get an email. You watch it and download it without a watermark. You have 48 hours.
Questions
Before you buy.
Does it work with photos of pets?
Yes, and it usually looks great. Choose a photo where the animal is still, with the eyes in focus and in the centre. The AI adds a little life to the surroundings, but the main subject barely moves, because what moves is the camera.
Does the move in lose quality at the end?
Not like a digital zoom, because the AI recreates the image in every frame instead of enlarging pixels. Even so, the result depends on the photo. If the centre is out of focus or low resolution, the end of the video will show those same flaws.
Can I choose where the camera moves towards?
The camera moves towards the centre of the image. If you want it to end on another point, crop the photo first so that point is centred. You can also write a short instruction, although the centre of the photo takes priority.