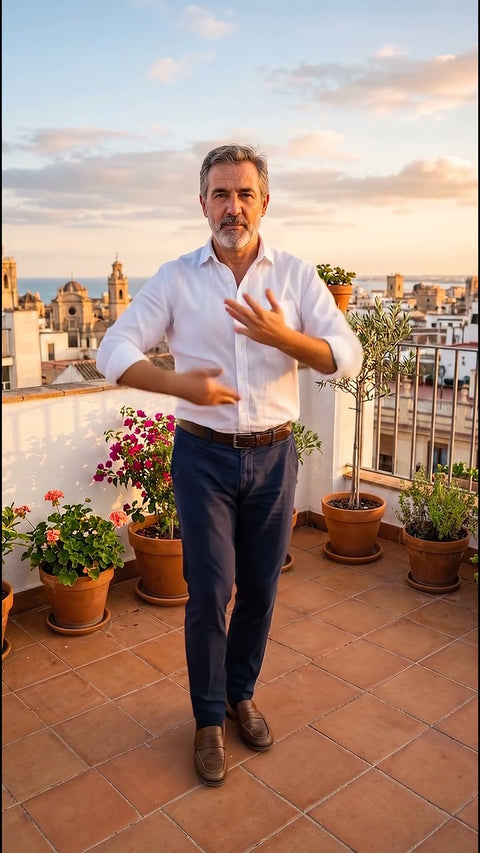
Not long ago, turning a photo into a video meant a slow zoom over a still image. Today AI video models can move the camera, animate a person or spin a product from a single photo, with a result that in many cases looks filmed. In this guide we explain how it works, what options you have and how to get the best result.
What the AI does when it animates a photo
A video model like Google Veo, the one we use at Vidia, does not animate the photo pixel by pixel. It analyses what is in the image, what is in front and what is behind, whether there is a person and in what pose, and generates a new video frame by frame that starts at your photo and follows the instruction it receives, for example “the camera rises like a drone”.
This has two important consequences.
- The result is a recreation. Everything that was not in the photo, such as what is behind a door or a person's back, is imagined by the AI.
- The starting photo decides almost everything. A sharp, well lit image gives much better videos than a blurry screenshot.
What options you have
Free apps for your phone
There are many apps that promise to animate photos for free. They usually work with simple templates and are useful for trying things out. In return, it is common for the video to carry a watermark, for there to be ads, for the quality to be limited or for the free version to fall short and offer you a weekly or monthly subscription. Before uploading a photo, check what the app does with it and whether it uses it to train its models.
Web tools with credits or a subscription
The most complete AI video platforms let you write your own instructions, choose the model and adjust many parameters. They are the best option if you will be creating videos often and want full control. The drawbacks are the learning curve, since writing good instructions takes practice, and the payment model, which is usually a subscription or packs of credits that expire, even if you only need one video.
Pay per video with ready made effects
This is what Vidia does. Instead of writing instructions, you choose a tested effect, such as a drone view or a dance, upload the photo and pay only for that video, for very little. It suits you when you want a specific result, once or now and then, without learning a new tool or paying fees.
Which to choose
- If you just want to tinker and do not mind the watermark, try a free app.
- If you will create videos every week and like to experiment, a subscription tool will give you more freedom.
- If you need one specific video, done well and right now, for a birthday, an ad or a memory, paying per video is usually the quickest and cheapest option.
How to turn a photo into a video, step by step
- Decide what you want to happen. Moving the camera over a landscape is not the same as making a person dance. At Vidia each effect is a specific result, so start by choosing it in the effects catalogue.
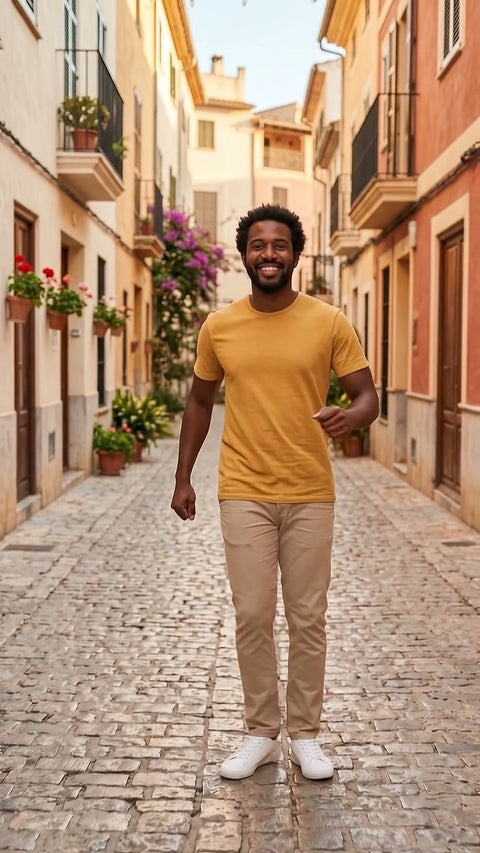
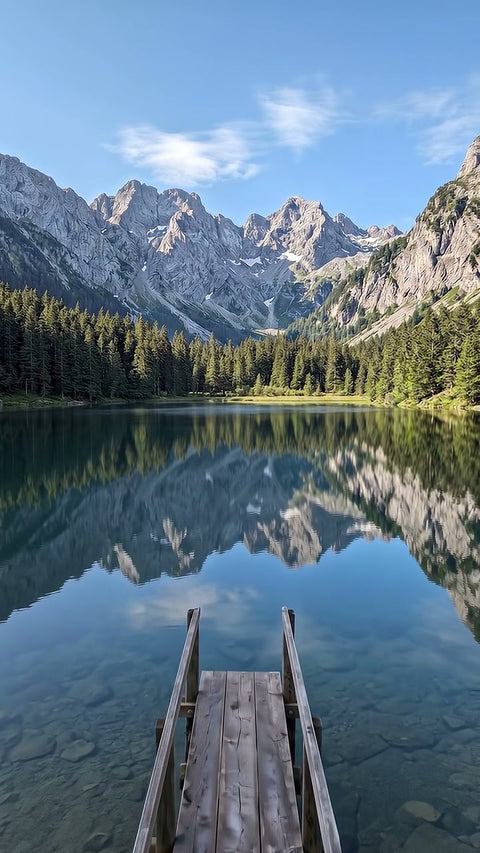
- Choose the right photo for that effect. A dance needs the person full length, a face effect needs a portrait facing the camera, a drone needs a horizon. On each product page we tell you which photos work best.
- Prepare the photo. Use the original file, crop out what you do not need and do not apply strong filters. At Vidia JPG, PNG or WEBP up to 8 MB all work.
- Adjust the options. Duration of 4 or 8 seconds, vertical format for social media or horizontal for web and video, and how much movement you want. If needed, add a short instruction.
- Pay and wait a few minutes. We let you know by email when the video is ready.
- Check before downloading. Watch it in the preview. If you are not happy with it, ask for the free redo before downloading it.
Tips for getting a good result
Light and sharpness
The AI fills in what it cannot see clearly. A dark or shaky photo forces the model to guess more, and that is where the flaws appear. Natural daylight is your best ally.
A clear main subject
One person, one product or one place, not three things competing. If the photo is a group shot and you want to animate one person, crop them out.
Space around the subject
If the effect moves a person, leave room for the arms. If it is a drone, leave sky above. Crops that are too tight limit the movement.
Short, specific instructions
If the effect accepts instructions, write one clear sentence, such as “the dog wags its tail”. Long or contradictory instructions usually make the result worse.
Common mistakes
- Using screenshots or WhatsApp photos. They lose a lot of quality. Look for the original file.
- Choosing the wrong effect for the photo. A dance with a portrait of just the face, or a flight through a door with a photo of a plain wall.
- Expecting an exact copy of reality. The video is a recreation. If you need everything to be real, you need a recording.
- Animating people without their permission. Besides being disrespectful, it may infringe their right to their own image. And never with photos of minors.
- Forgetting to say it is AI. If you publish a realistic video in your professional activity, the European Artificial Intelligence Act asks you to say so.
What to do with the video afterwards
Download it as soon as you have it, because at Vidia it is available for 48 hours. From your phone you can upload it as it is to stories, Reels or TikTok and add music or text there. If you will use it in a business and it looks like a real recording, say it was made with AI.
Which effect to choose for what you want to do
- A trip or a landscape, drone view or cinematic zoom.
- A joke or a greeting, viral dance, flamenco or laughing fit.
- A family memory, photo comes to life. There is a guide in animate old photos.
- A product, Product 360 or unboxing.
- A property, the Property in 3 shots pack.